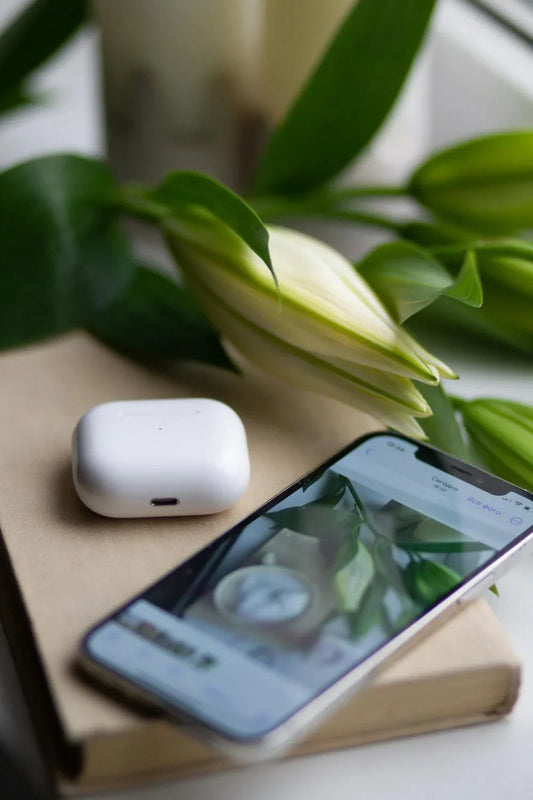
Your AirPods case work hard to keep your earbuds safe and charged, but over time, it collects dirt, lint, and grime. A clean AirPods case not only looks better but also helps ensure it works properly. Learn how to clean AirPods cases without damaging them, to keep them looking fresh and functioning perfectly.
Let’s dive into a step-by-step guide on how to clean Airpods cases safely and effectively.
Table of contents

Why It’s Important to Know How to Clean AirPods Cases
A dirty AirPods case can harbor bacteria, accumulate debris, and even impact the charging functionality. Regular cleaning not only keeps it hygienic but also maintains its longevity. Plus, let’s be honest—no one likes the look of a grimy white case!
What You’ll Need to Clean Your AirPods Case
Before you begin, gather the following safe and effective cleaning tools:
A soft, lint-free cloth (like a microfiber cloth)
Isopropyl alcohol (70% or higher)
Cotton swabs
A soft-bristle toothbrush
A wooden toothpick or a similar non-metal tool for tight spots
Avoid using abrasive cleaners or excessive liquid, as these can damage the case's delicate finish or its electronic components.
Step 1: Turn Off and Disconnect
Before cleaning, ensure your AirPods are removed from the case. Unplug any charging cables and turn off your AirPods if they’re connected to a device. This is a crucial step to prevent accidental damage during cleaning.
Step 2: Wipe the Exterior
Start by wiping down the exterior of your AirPods case with a soft, slightly damp lint-free cloth. For stubborn marks, apply a small amount of isopropyl alcohol to the cloth. Alcohol evaporates quickly and safely cleans without leaving moisture behind.
Be gentle when cleaning the hinge area, as it’s a sensitive spot where dirt tends to collect.
Step 3: Clean the Interior
Now that the outside looks great, it’s time to tackle the inside. Use a cotton swab dipped in a small amount of isopropyl alcohol to gently clean the interior of the case. Focus on the charging bays where your AirPods sit, as these spots can collect dirt and residue.
A wooden toothpick can help you remove any stubborn debris in hard-to-reach areas without scratching the case.

Step 4: Brush the Charging Port
The charging port is another area prone to dust and dirt buildup. Use a soft-bristle toothbrush or a dry cotton swab to clean the port . Avoid using any liquids here to prevent damage. For lint trapped inside, gently use the wooden toothpick to lift it out. Keeping this area clean ensures consistent charging.
Step 5: Dry and Inspect
Once you’ve finished cleaning, let the case air dry for a few minutes. Check for any missed spots and repeat the cleaning process if necessary. Ensure the case is completely dry before placing your AirPods back inside or reconnecting it to a charger.
Pro Tips for Maintaining Clean AirPods Cases
Regular Maintenance: Wipe down your case every week to prevent dirt buildup.
Keep It Protected: Use a silicone or hard shell case to minimize scratches and grime.
Store It Properly: Keep your AirPods case in a clean, dry place when not in use to reduce exposure to dust and moisture.
When to Replace AirPods Cases
Sometimes, even a thorough cleaning can’t fix long-term wear and tear. If your case shows significant discoloration, scratches, or charging issues, it might be time for a replacement. Look for official Apple cases or trusted third-party options.

Conclusion: Maintaining AirPods Cases
Cleaning your AirPods case doesn’t have to be complicated. With the right tools and a bit of care, you can keep it looking and working like new. Knowing how to clean AirPods cases not only ensures their cleanliness but also extends their lifespan, so you can enjoy your favorite tunes without a hitch.
By following these simple steps, you’ll know how to clean Airpods cases and have a sparkling, fresh AirPods case in no time. Make cleaning a part of your routine, and you’ll thank yourself later!


